Build Your Own Flight Tracking Server with Docker and Unraid [UPDATED 2024]
Discover how to set up your own flight tracker using an Unraid server in this step-by-step guide. A must-do project for tech and aviation lovers.
![Build Your Own Flight Tracking Server with Docker and Unraid [UPDATED 2024]](/content/images/size/w2000/2023/12/flight-tracker-1.png)
Have you ever looked up at the sky, and wondered where all the airplanes you see were heading? Well, I certainly have!
For as long as I have known I've been captivated by all things aviation, I think it's because I've always lived within 10 km of an airport so seeing low-flying airplanes was an hourly occurrence. My city is also just under a pretty busy navigational waypoint for airplanes so in the morning and evening you'll see a slew of long-haul intercontinental flights overhead.
It's pretty easy to know where the low-flying airplanes were heading (to the local airport of course!) but I've always wanted to know what routes those high-flying planes were headed. For that, I would usually turn to FlightAware or Flightradar24 to get details for the flights.
One thing both these websites advertise is how to build your own flight tracker and, as a tech enthusiast and avgeek, I knew this was something I had to do!
I used to use a dedicated Raspberry Pi 1 as the brains for my flight tracker, but I ran into issues with the limited amount of compute and memory provided by that device (1 core with 512mb of memory😵💫). Despite the limitations, the Pi worked hands-off for over 4 years without any upkeep from me.
Earlier this year I decided to build a homelab using an old PC (running Unraid) and I thought this was the perfect opportunity to consolidate these devices. After testing the flight tracker within Unraid over the last few months I can confirm that it is stable and worth checking out!
For this updated guide I'll be switching the flight tracker system over to a Docker Compose stack utilizing the docker-fr24feed-piaware image created by Thom-x.
This docker image can be used on any server (or PC!) that has Docker and Docker compose installed so this guide isn't just limited to Unraid anymore! 🎉
Why build your own flight tracker? (and how it benefits users)
- It's fun, easy, and relatively quick project to setup.
- Feeding the data from your receiver will give you a business account for (most) of the website you feed to. This can be worth hundreds of dollars in value, and you only have to spend maybe $50 dollars once to get the USB and antenna for your server. If you're an avgeek, the data these website provide will make you drool.
- I play flight simulators and MSFS in particular actually uses the data from FlightAware (and some other data sources) to create AI flights in-game. So my flight tracker is contributing to create a better experience for a game I've dumped hundreds of hours into.
Requirements
- This guide assumes a properly setup Unraid instance. If you need help with setting up Unraid, I highly recommend the SpaceInvaderOne youtube channel or the Official Unraid Guide.
- As mentioned above, you can follow this guide even if you aren't using Unraid, just skip to the Step 3.
- Unraid community apps plugin installed. If this isn't installed you can follow the official guide to installing the plugin.
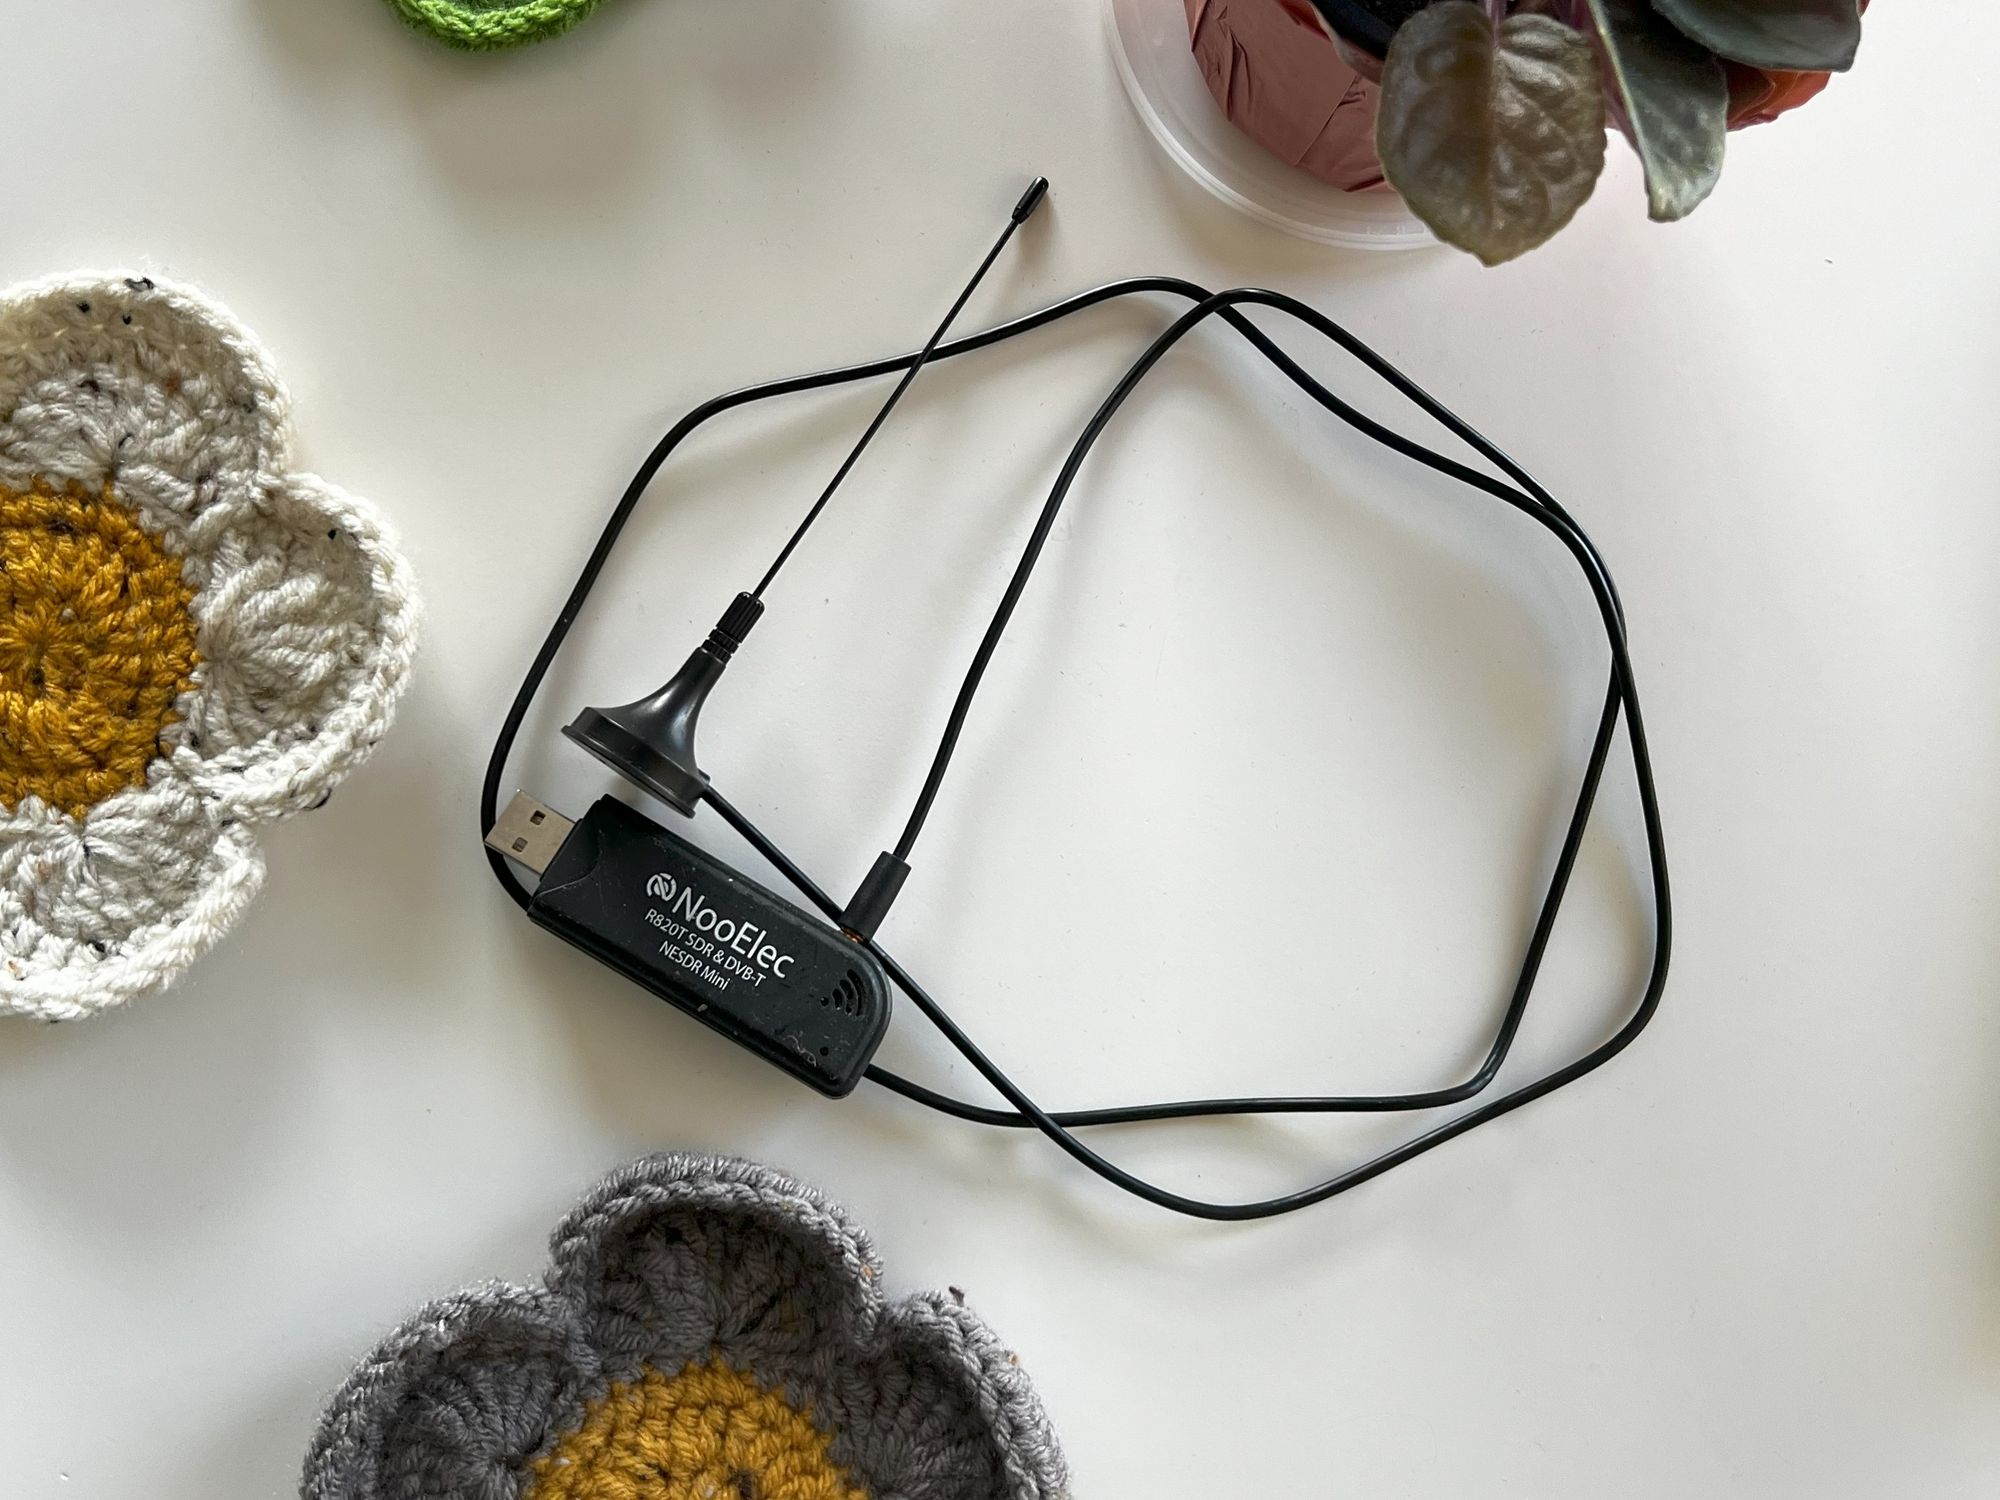
- RTL2832/R820T2 USB. You can find these on Amazon usually by searching for SDR (software defined radio) USBs.

Cost
If we exclude the server cost, the only two items we need to purchase are the SDR USB and the actual antenna. In the future I'd like to get a larger antenna so I can increase my tracking range
- I bought a bundle on Amazon that included the USB and the Antenna for CAD$ 30.
You could also go out and purchase the official FlightAware USB and Antenna. From their website or Amazon.
Let's get building!
A step-by-step guide to setting up your flight tracker
Step 1 – Connect your gear
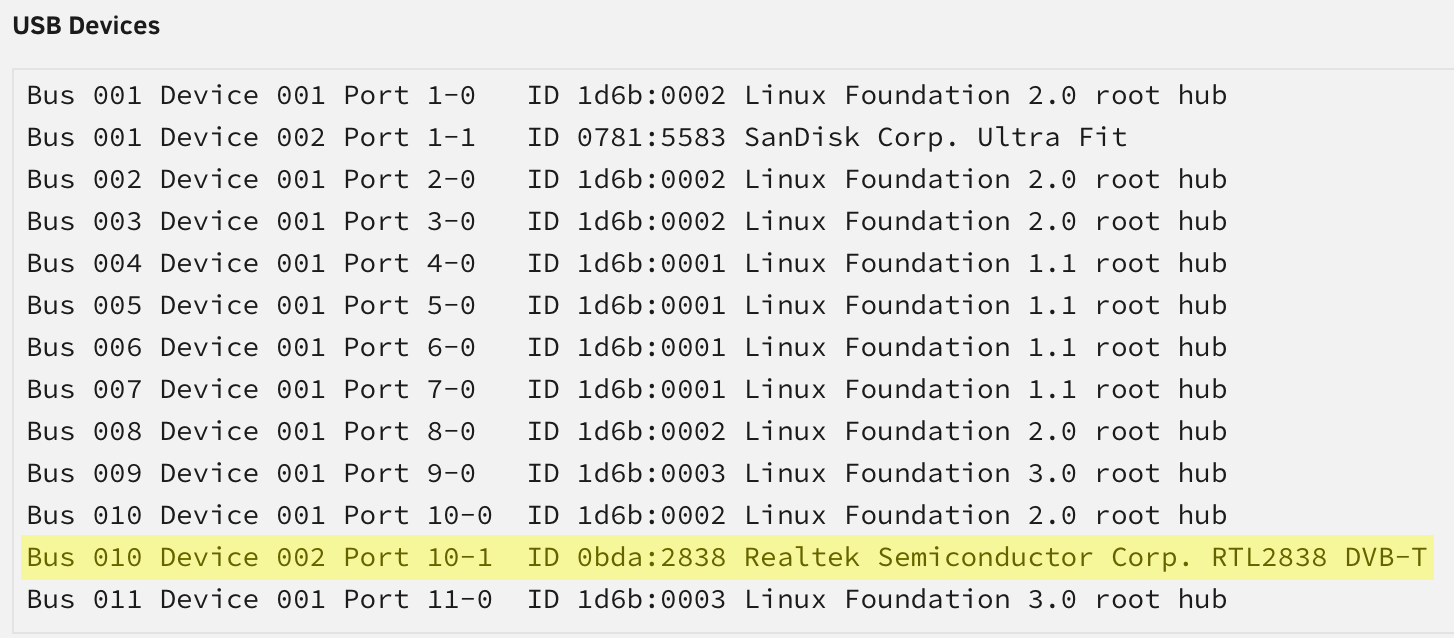
Install the USB on your server and note the USB Bus and device ID on the Unraid System Devices page. If you are doing this on a bare Linux install the command to find this information is lsusb.

Ensure the antenna is high up and has the clearest line of sight to the sky as possible. If you can, try and mount the antenna outside to get the furthest range. I just have a tiny indoor antenna, so I mounted it on my windowsill and it gets the job done. Even with this small antenna, I can pick up signals from airplanes ~80 km away.
Step 2 – Installing Docker Compose on Unraid
Back in Unraid, navigate to the apps page and install the Docker Compose Manager plugin. This plugin will allow us to create and manage Docker Compose stacks from the Docker tab in Unraid.

Now you'll see a new section labeled "Compose" below your containers on the docker page when you navigate back to the Docker tab in Unraid.

Step 3 - Claim your receiver and get sharing keys
Before we create the flight tracker compose file we first have to run a few commands in the terminal to link our device to FlightAware and to obtain a sharing key for FlightRadar24
FlightAware
docker run -it --rm \
	-e 'SERVICE_ENABLE_DUMP1090=false' \
	-e 'SERVICE_ENABLE_HTTP=false' \
	-e 'SERVICE_ENABLE_FR24FEED=false' \
	-e 'SERVICE_ENABLE_PIAWARE=false' \
	thomx/fr24feed-piaware /usr/bin/piaware -plainlog
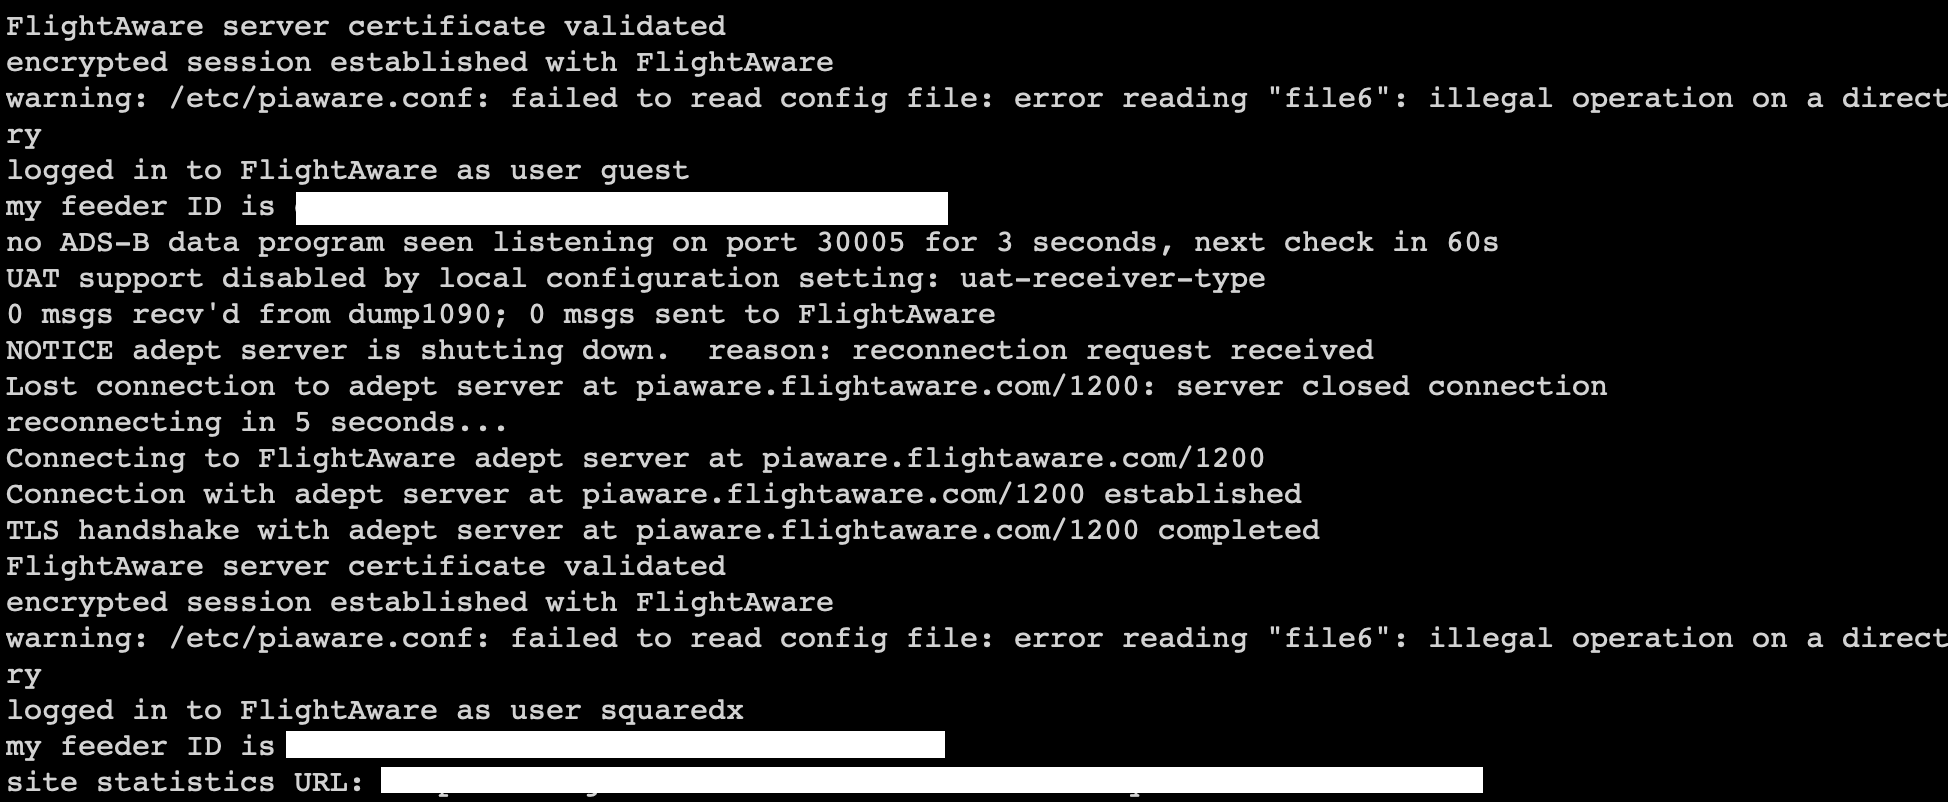
This will start the FlightAware application within the container, next we need to go to the FlightAware website to claim the receiver
https://flightaware.com/adsb/piaware/claim
Make sure you're logged in and on the same IP as the receiver (this is how FlightAware associates you with the receiver). You should get a success message stating that the receiver has been claimed.
Make note of the feeder ID as we'll need it later.
Press Ctrl + C in the console to stop the FlightAware application.

Flightradar24
If you've shared to Flightradar24 before you can skip this section and use your existing sharing key.
docker run -it --rm \
	-e 'SERVICE_ENABLE_DUMP1090=false' \
	-e 'SERVICE_ENABLE_HTTP=false' \
	-e 'SERVICE_ENABLE_PIAWARE=false' \
	-e 'SERVICE_ENABLE_FR24FEED=false' \
	thomx/fr24feed-piaware /bin/bash
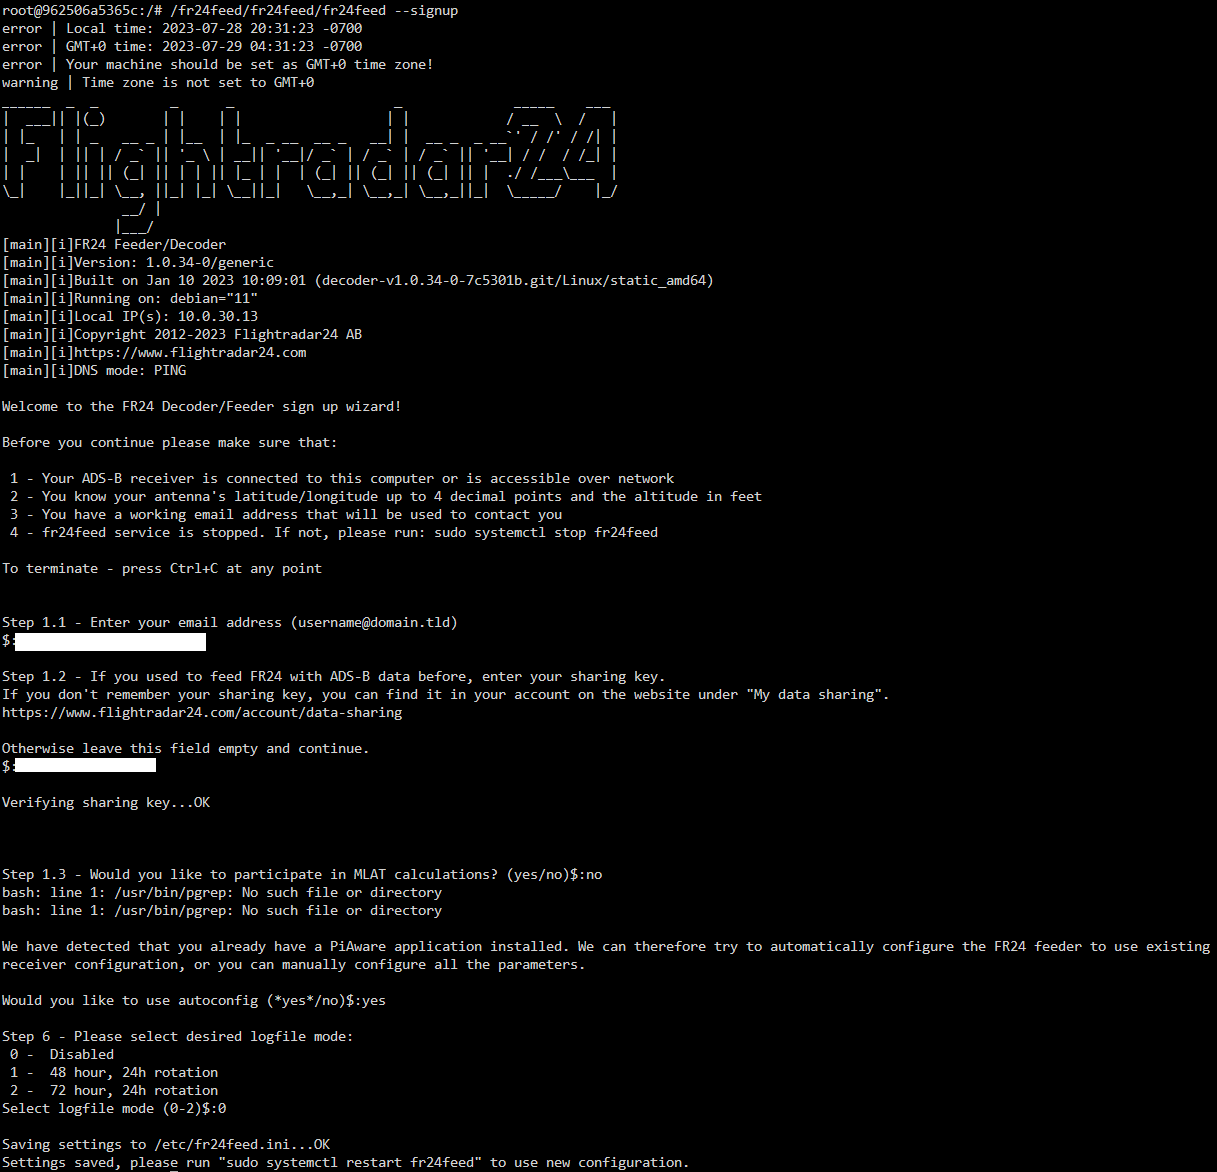
This will open a bash instance within the container. We need to run the following command to begin the Fr24 setup process: /fr24feed/fr24feed/fr24feed --signup
The technical questions (like MLAT calculations, auto config, and logging settings) are not important and will be set through the Docker Compose we create in the next step.

To get the sharing key we need to run: cat /etc/fr24feed.ini
Note this sharing key somewhere as we'll be using it in the next step.
Other platforms (ADS-B Exchange, Plane Finder, Opensky, adsb.fi, Radarbox, ADSBHub)
The beauty of this docker container is that its constantly being updated to support new ADSB sharing platforms.
For guidance on how to share to other platforms please visit the GitHub Repository for the project to see detail setup guidance. Due to the sheer amount of supported platforms I couldn't fit them all into this blog post without it becoming an essay!
For the most part these other platforms just require some additional environment variables to be set, so after following this guide you should be able to add support for the additional platforms without too much effort!
Step 4 – Create flight tracker Docker Compose stack
So now that we have all our required feeder and share key, we can go ahead and create the flight tracker stack.
Navigate to the bottom of the Docker page in Unraid and click the "Add New Stack" button. Enter a name for the stack and press OK.
Once the stack is created, click the gear icon next to the stack name and click the Edit Stack button, a new dialog menu will pop up asking you which stack file up edit, from this screen we want to edit the Compose File.
You can use this trimmed down docker-compose.yaml file if you want to get up and going right away. But if you want to see all the other configuration options take a look a the project readme and reference docker compose on GitHub.
version: "3.7"
services:
  fr24feed-piaware:
    image: "thomx/fr24feed-piaware"
    restart: unless-stopped
    volumes:
        - /etc/localtime:/etc/localtime:ro # needed to sync time for MLAT
    environment:
        - "FR24FEED_FR24KEY=YOUR_FR24_KEY"
        - "PIAWARE_FEEDER_DASH_ID=YOUR_PIAWARE_DASH_ID"
        #- "HTML_SITE_LAT=YOUR_SITE_LATITUDE"
        #- "HTML_SITE_LON=YOUR_SITE_LONGITUDE"
        #- "HTML_SITE_ALT=YOUR_SITE_ALT"
    devices:
        - "/dev/bus/usb/010/002"
    # ports
    # 8754 - DUMP1090 server port
    # 8080 - HTTP server port
    ports:
        - "8754:8754"
        - "8080:8080"
    logging:
        options:
            max-size: "30m"
    tmpfs:
        - /run:exec,size=32M
        - /planefinder/log:exec,size=32M
        - /usr/lib/fr24/public_html/data:size=32M
Required
| Environment Variables | Description |
|---|---|
| PIAWARE_FEEDER_DASH_ID | <The UUID of the receiver ID from FlightAware> |
| FR24FEED_FR24KEY | <The sharing key you got from Flightradar24> |
Optional
If you want to set these optional environment variables, remove the # character from the compose file.
| Environment Variables | Description |
|---|---|
| HTML_SITE_LAT | Visual setting to set the latitude of the receiver to the correct spot on the map |
| HTML_SITE_LON | Visual setting to set the longitude of the receiver to the correct spot on the map |
| HTML_SITE_ALT | Sets the altitude of the receiver |
Your environment variables should look something like this:
Step 5 - Save the changes and start up the stack!
At this point everything should be setup and you should be feeding both FlightAware and Flightradar24 with data coming from your receiver. 🎉
The beautiful thing about using this specific Unraid application template is that you can feed so many websites using this one container! I’ve only showed you how to feed to two services, but there are like 4 other websites you can feed to that have direct integrations in the container.
If you're passionate about aviation or just love tinkering with tech, subscribe to my newsletter for more projects, insights, and updates!
